
Contents3 sections
Level: Beginner · Time: 30 minutes · Cost: Free
You know the scene. You install one small plugin on a Tuesday morning, your homepage turns into a white screen, and your customers start emailing you before you’ve finished your coffee. A staging site would have caught it. It’s a private copy of your site where you can break things in peace, fix them, and only then send the good version live.
What you need
- A WordPress site with admin access.
- Your hosting login.
- 30 minutes.
- A backup (just in case).
The steps
Step 1: Start at your host and ask what it already does for you
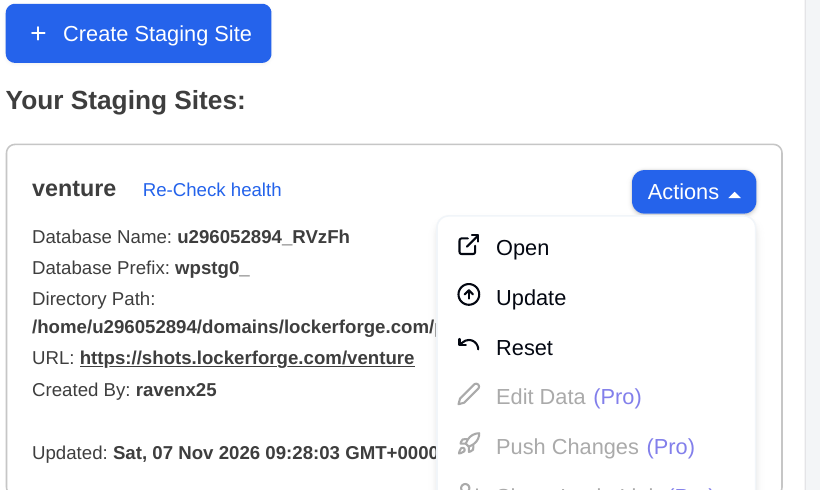
Log in to your hosting account and look for a staging tool. It often lives under your site’s dashboard, in a section called Staging, WordPress, or Tools, and it usually offers a Create Staging button. If your host has it, that’s the best first move: it copies your files and database for you, sets up the staging URL, and usually blocks search engines automatically. If you can’t find a staging option, your host may not offer one—don’t improvise by copying files by hand on your first try. Look for a host staging feature first, and if you really don’t have one, use a well-reviewed staging plugin instead (search “staging” in Plugins > Add New Plugin and pick one with recent updates and good reviews). Check the staging site’s URL format when it is ready; many hosts use something like staging.yoursite.com or yoursite.staging.wpengine.com. If the button is missing, check your hosting plan—staging is sometimes only on higher plans. Verify by visiting the staging URL: it should load a page that looks just like your live site, with a staging label or a different URL.
Step 2: Decide how your staging site will be reached, and lock it down
Once the copy exists, the URL matters. A subdomain like staging.yoursite.com is the clearest; a subdirectory like yoursite.com/staging works too, but it can confuse visitors and is harder to keep out of search results. Whatever you choose, add a layer of protection now. Log in to your WordPress dashboard on the staging copy and make sure Settings > Reading has “Discourage search engines from indexing this site” checked. Use your host’s password protection if it offers one, so random visitors can’t stumble in. If your host lacks a staging tool, ask support whether they offer password protection for a test copy—most do, and it is usually a one-click option. You can also try from a private browser window: a protected staging site will ask for a username and password, whereas an unprotected one will load straight through. That’s how you know it’s safe.
Step 3: Make a change on staging exactly as you would on live
This is the whole point. Pick a real change—update a plugin, try a new theme, edit a page—and do it on staging first. You need to see how it behaves on your actual content, so resist the urge to test with a blank page. Keep it simple: one change at a time beats five at once, because if something breaks you’ll know what did it. When the change involves a theme or layout, test it on the pages that matter most to you first (homepage, checkout, contact page). If nothing is visibly wrong, click around the site for a minute and check a page with a form or button—those are the places where breakage notices usually arrive late.
Step 4: Test the boring stuff too
Don’t just look at the homepage and declare victory. Click through your contact form, try the search box, and, if you sell anything, walk through the checkout to the point where you’d pay. Check a page on your phone as well. The phone layout is where half the complaints come from and it’s easy to forget. If the checkout ends at a test payment or sandbox option, use that; never run a real card on staging unless your host’s tool specifically creates test orders. If your site has a membership or login area, log in as a test user and try the member-only parts too. It takes five minutes and saves the embarrassing email.
Step 5: Push the change to live only when staging looks right
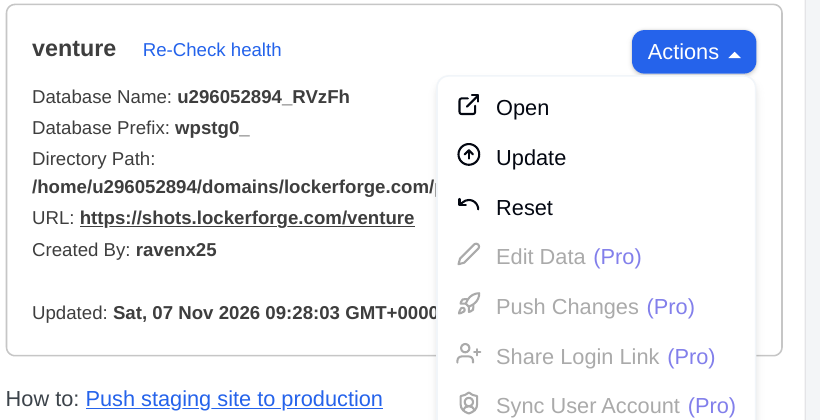
Once you’re happy, it’s time to move the change to your live site. Go back to your host’s staging tool and look for Push to Live, Deploy, or Sync—the exact label varies by host. Before you click it, read what it says it will copy: files, database, or both. Check what you don’t want to overwrite. If the tool lets you choose, push files only when you’ve just changed a theme or plugin, and push the database only when you’ve changed content that should go live too. Don’t push a database from a stale staging copy: if your live site has taken new orders or comments since you created the copy, pushing the database could wipe them. That’s the classic staging mistake, and it’s entirely avoidable if you read the push screen first. Click the push button and wait for the confirmation message.
The step everyone skips
Prove the staging copy is actually locked down. Back in Step 2 you ticked “Discourage search engines from indexing this site” and set a password — now test it the way a stranger would. Open the staging URL in a fresh private browser window: you should get a password prompt before any content appears. If the site loads straight through, the protection is not really on — go back to Settings > Reading on the copy and to your host’s password tool and finish the job. Then search Google for the staging URL; it should not show up. Visitors and search engines should never see this copy.
Worked example: You’re the owner of a small bakery site. You want to switch to a new photo gallery plugin before the Christmas rush. You create a staging site, install the plugin there, and upload three photos of your mince pies. The gallery looks fine on desktop, but on your phone the captions overlap the photos. You spot it on staging, you switch the gallery to a simpler layout, and the captions behave. You push only the plugin and gallery changes live—you don’t push the database, because you’ve taken two online orders since you made the copy. Your live site stays up, your customers never see the broken layout, and the mince pies look great.
Common mistakes
| Mistake | Why it hurts |
|---|---|
| Testing on live because you’re in a hurry. | It always takes longer to fix live than to test on staging first. |
| Pushing the database without checking. | Live orders and comments can be wiped if the staging database is older. |
| Leaving staging open to Google. | An unprotected staging site can get indexed, which confuses visitors and search engines. |
| Forgetting to update the copy. | If your staging copy is months old, testing on it proves nothing—refresh it before a big change. |
If you’d rather we set this up for you, Locker Forge can do it.
Now go and make your staging copy — before the next Tuesday morning plugin update.
Written against: WordPress